The Best Fluffy Pancakes recipe you will fall in love with. Full of tips and tricks to help you make the best pancakes.
I’ll be honest — I’ve tried way too many gluten-free waffle recipes that promised the world and delivered sad, dense pancakes in disguise. But this one? It actually delivers those crispy-edged, fluffy-centered waffles you’ve been craving. No weird aftertaste, no gummy texture, just honest-to-goodness delicious waffles that happen to be gluten-free. The secret lies in a few simple tweaks that make all the difference, and I’m excited to share exactly what works.
Why You’ll Love these Fluffy Gluten-Free Waffles
These golden beauties deliver everything you want in a weekend breakfast — and then some.
First off, they’re legitimately fluffy — not dense or gummy like some gluten-free attempts. The texture rivals any traditional waffle, with crispy edges that give way to tender, airy centers. They hold syrup perfectly without turning soggy, and you can make the batter in minutes with ingredients you likely have on hand.
No specialty flours or complicated steps required. Plus, they freeze beautifully for busy mornings. I’m talking pop-in-the-toaster convenience that doesn’t sacrifice flavor.
Weekend vibes, any day of the week.
Ingredients for Fluffy Gluten-Free Waffles
You’re going to love how simple this ingredient list is. No hunting down obscure flours or specialty items that cost a fortune and sit in your pantry forever. This recipe uses straightforward ingredients that work together to create waffles that are genuinely fluffy, not the dense hockey pucks that gluten-free baking sometimes delivers.
- 2 large eggs (approximately 120g)
- 1/4 cup granulated sugar (approximately 50g)
- 2 teaspoons pure vanilla extract
- 1/2 cup vegetable oil (approximately 115g)
- 2 cups gluten-free all-purpose flour (approximately 250g)
- 1/2 teaspoon xanthan gum (optional)
- 4 teaspoons gluten-free baking powder (approximately 20g)
- 1/4 teaspoon salt
- 1 3/4 cups milk (approximately 400 ml)
The xanthan gum might be the only ingredient that raises eyebrows, but here’s the thing — many gluten-free flour blends already include it, so check your bag first.
If yours doesn’t have it, grab some from the baking aisle. It’s what gives these waffles their stretchy, tender texture instead of that crumbly mess we’ve all experienced.
I always use whole milk because it adds richness, but 2% works fine too. The vegetable oil keeps things moist without any funky flavors — though melted butter works if you’re feeling fancy.
Just make sure your baking powder is fresh and specifically labeled gluten-free, because some brands sneak gluten into the mix.
How to Make these Fluffy Gluten-Free Waffles
The secret to perfect gluten-free waffles is all about the mixing technique — you want to bring everything together without overworking the batter, which keeps them light and fluffy instead of tough. Trust me, these come together faster than you think, so have your waffle maker preheated and ready to go.
- In a large mixing bowl, whisk together 2 large eggs (approximately 120g), 1/4 cup granulated sugar (approximately 50g), 2 teaspoons pure vanilla extract, and 1/2 cup vegetable oil (approximately 115g) until everything’s well combined and slightly frothy.
- Add 2 cups gluten-free all-purpose flour (approximately 250g), 1/2 teaspoon xanthan gum (if your flour blend doesn’t already include it), 4 teaspoons gluten-free baking powder (approximately 20g), and 1/4 teaspoon salt to the wet ingredients. Mix well until no dry streaks remain — don’t worry about being gentle here.
- Pour in 1 3/4 cups milk (approximately 400 ml) and stir just until the batter is smooth. A few tiny lumps are totally fine, but you don’t want any flour pockets hiding in there.
- Pour the batter onto your preheated, greased waffle maker — I usually use about 1/2 to 3/4 cup depending on the size of my iron. Don’t overfill or you’ll have a mess on your hands.
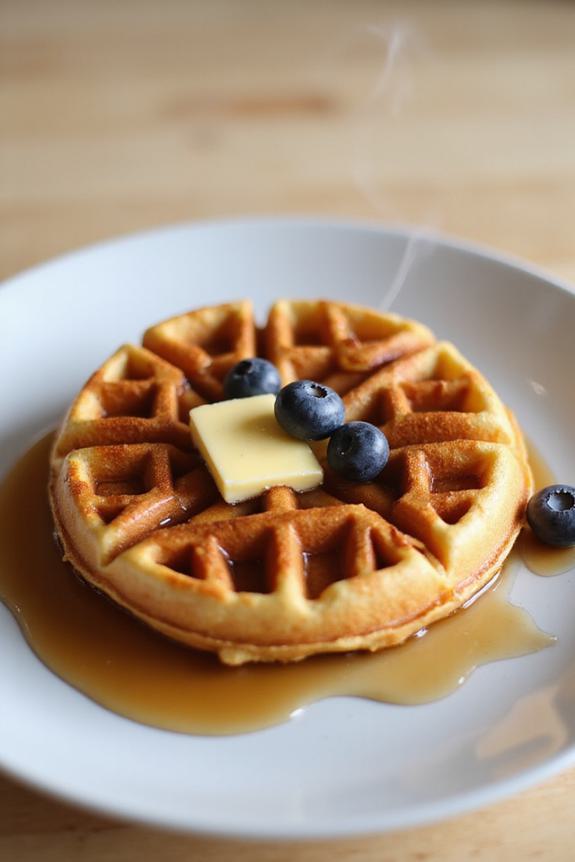
- Cook until the waffles are golden brown and crispy on the outside, usually 3-5 minutes depending on your waffle maker. Most machines will stop steaming when they’re ready, which is always my cue to peek.
Additionally, using a high-quality commercial stand mixer can greatly improve your mixing process, ensuring consistent results every time.
Substitutions & Variations
While I absolutely love this recipe as written, I know everyone’s pantry looks different — and honestly, that’s half the fun of cooking. You can swap the vegetable oil for melted butter or coconut oil for richer flavor. No vanilla extract? Skip it, or try almond extract instead. I’ve made these with oat milk, almond milk, even buttermilk — they all work beautifully. Want them sweeter? Bump the sugar to 1/3 cup. Feeling fancy? Fold in fresh blueberries or mini chocolate chips. The batter’s forgiving, so don’t stress about perfect substitutions.
What to Serve with Fluffy Gluten-Free Waffles
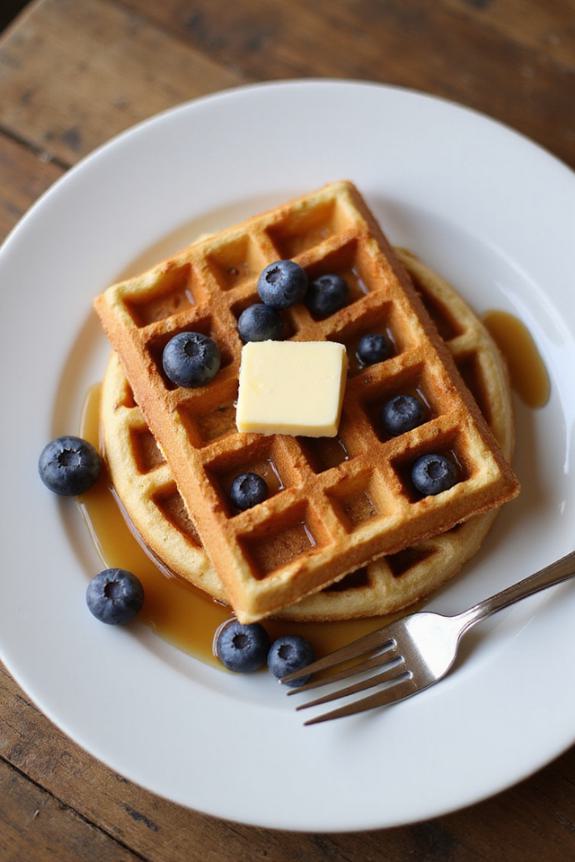
Once you’ve got these fluffy beauties stacked on your plate, the real fun begins — because honestly, a naked waffle is just sad potential waiting to happen.
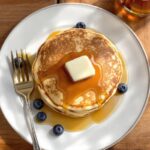
I’m all about maple syrup and fresh berries, but don’t stop there. Whipped cream, sliced bananas, or a sprinkle of powdered sugar work magic.
For something different, try Greek yogurt with honey or even a dollop of Nutella.
Savory fans, hear me out — these waffles love fried chicken or scrambled eggs on top. The crispy-fluffy contrast is unreal.
Whatever you choose, pile it on generously.
Final Thoughts
Looking back at this whole gluten-free waffle adventure, I can’t help but smile at how simple it really is. You’ve got eggs, flour, milk—basic stuff that works together beautifully. No weird ingredients or complicated steps. Just mix, pour, and wait for that golden magic to happen.
I love how these waffles prove that gluten-free doesn’t mean flavor-free or texture-challenged. They’re fluffy, crispy, and downright satisfying.
Whether you’re feeding gluten-free family members or just curious about alternatives, this recipe delivers every single time. Trust the process, embrace the crispy edges, and enjoy your perfect stack.