The Best Fluffy Pancakes recipe you will fall in love with. Full of tips and tricks to help you make the best pancakes.
Why You’ll Love this Gluten-Free Italian Bread
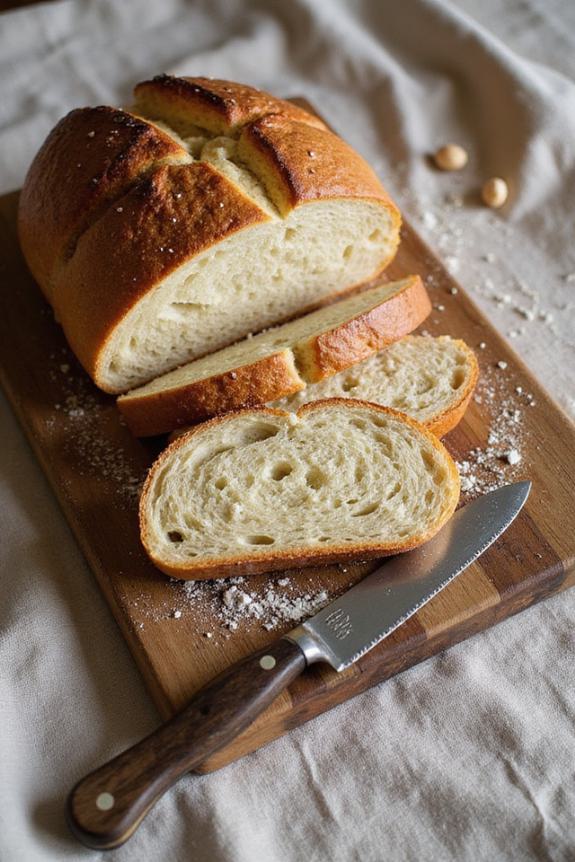
This bread delivers everything you’ve been missing since going gluten-free — that perfect chewy crust that actually cracks when you break it, plus a soft, airy interior that doesn’t crumble into sad little pieces.
I’m talking about bread that actually holds together for sandwiches and doesn’t turn into expensive crumbs in your toaster. The psyllium husks work magic here, creating that stretchy texture you thought was gone forever.
Plus, it freezes beautifully and reheats like a dream. No weird aftertaste, no dense brick vibes. Just honest-to-goodness bread that happens to be gluten-free.
Ingredients for Gluten-Free Italian Bread
The beauty of this gluten-free Italian bread lies in its surprisingly simple ingredient list — no weird additives or ingredients you can’t pronounce. Most of these items are probably already hanging out in your pantry, and the few specialty ingredients are totally worth keeping on hand once you taste the results.
- 3 cups plus 3 tablespoons (453 g) gluten-free bread flour blend
- 2 tablespoons plus 1 teaspoon (16 g) granulated sugar
- 2 teaspoons kosher salt
- 2 teaspoons rapid rise yeast
- 1 tablespoon whole psyllium husks or 1½ teaspoons psyllium husk powder
- 2¼ cups (540 ml) milk
- 4 tablespoons (56 g) melted butter
The psyllium husks are your secret weapon here — they’re what give this bread that stretchy, chewy texture that makes it feel like real bread instead of a sad gluten-free imposter. You can find them at most health food stores or online, and a little bag goes a long way. I always keep both the whole husks and powder on hand, though the whole husks work slightly better if you can find them. Make sure your yeast is fresh too — expired yeast is the fastest way to turn your bread dreams into a dense disappointment.
How to Make this Gluten-Free Italian Bread
Making this bread is honestly more about patience than technique — the dough does most of the work while you go about your day.
Start by whisking together your dry ingredients: 3 cups plus 3 tablespoons (453 g) gluten-free bread flour blend, 2 tablespoons plus 1 teaspoon (16 g) granulated sugar, 2 teaspoons kosher salt, 2 teaspoons rapid rise yeast, and 1 tablespoon whole psyllium husks (or 1½ teaspoons psyllium husk powder).
I like to give everything a really good whisk to make sure the psyllium and yeast are evenly distributed — no clumps allowed.
Then pour in 2¼ cups (540 ml) milk and 4 tablespoons (56 g) melted butter, stirring until you get a sticky, shaggy dough that looks nothing like traditional bread dough.
Don’t panic — this is exactly what we want.
Now comes the magic part: cover your bowl and let this mess transform into actual bread dough over the next 6 hours.
I know, I know — 6 hours feels like forever, but this long rise is what develops all that gorgeous flavor and gives the psyllium time to work its binding magic.
After the rise, your dough will look completely different — smoother, more cohesive, and ready to be shaped into a loaf.
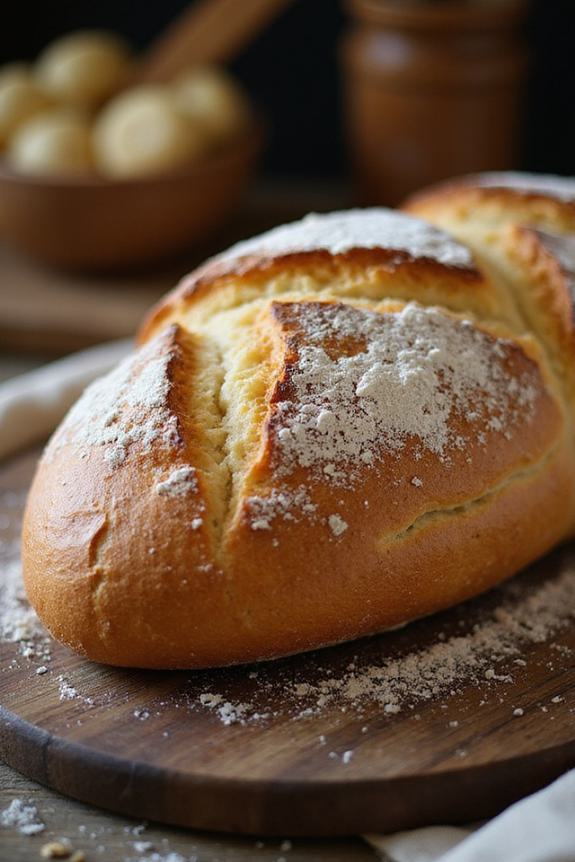
Shape it however makes you happy (I go for a classic oval), then slide it into a 375°F (190°C) oven for 35 minutes until the crust is golden and the bottom sounds hollow when you tap it.
The hardest part? Waiting for it to cool before you slice into that beautiful, crusty loaf.
If you find yourself making gluten-free bread regularly, investing in a quality stand mixer can make the mixing process much easier and more consistent.
Substitutions & Variations
While this recipe works beautifully as written, I get that everyone’s pantry looks different — and that’s where the fun begins. No psyllium husks? Try xanthan gum instead, using half the amount. Want dairy-free? Swap the milk for oat or almond milk, and use vegan butter. I’ve made this with different gluten-free flour blends too — just make sure yours contains xanthan gum already. Feeling fancy? Add dried herbs like rosemary or oregano to the dry ingredients. A tablespoon of olive oil instead of butter creates a more traditional Italian flavor profile.
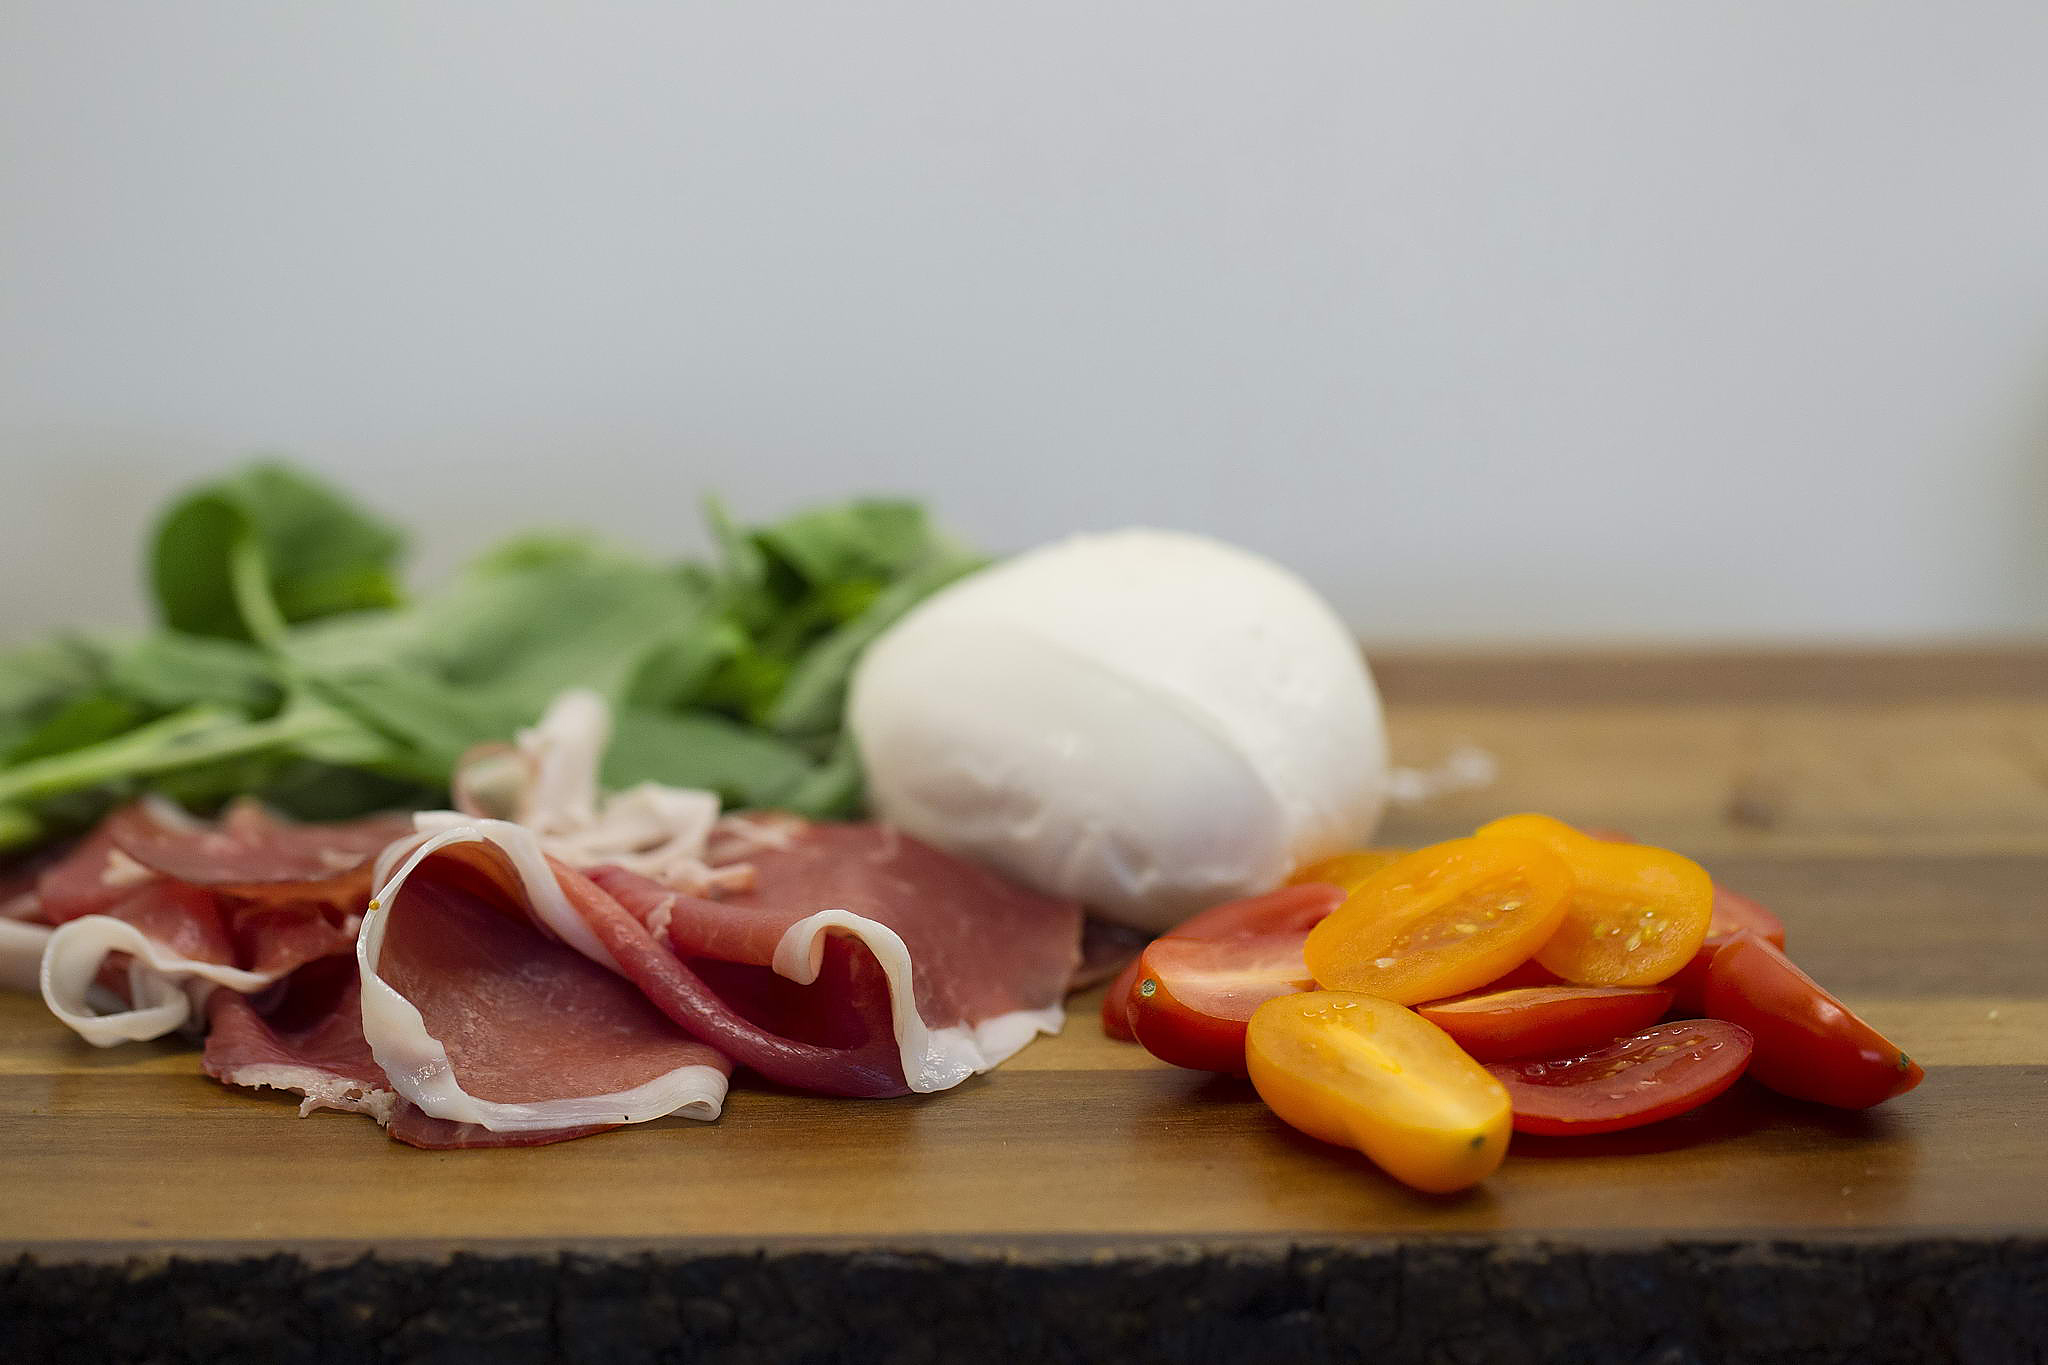
What to Serve with Gluten-Free Italian Bread
Nothing beats fresh bread straight from the oven, but what you pair it with can make the difference between a good meal and an unforgettable one.
I love slicing this Italian bread thick for dipping in olive oil with herbs, or making garlic bread by brushing slices with butter and minced garlic. It’s perfect alongside pasta dishes, soups, or hearty stews.
For breakfast, I’ll toast it and spread with jam or butter. The crusty exterior and soft interior also make incredible sandwiches.
Honestly, it disappears fast no matter what I serve it with.
Final Thoughts
After countless batches of disappointing gluten-free bread that crumbled at first touch or tasted like cardboard, I can honestly say this recipe changes everything.
The secret’s in that psyllium husk — it creates the stretch and chew you’ve been missing.
Sure, the six-hour rise feels like forever, but trust me, it’s worth every minute of waiting.
I love slicing this bread thick and toasting it with butter, or using it for the most satisfying sandwich.
Finally, gluten-free bread that actually tastes like bread. Your kitchen will smell incredible, and you’ll feel pretty proud too.