The Best Fluffy Pancakes recipe you will fall in love with. Full of tips and tricks to help you make the best pancakes.
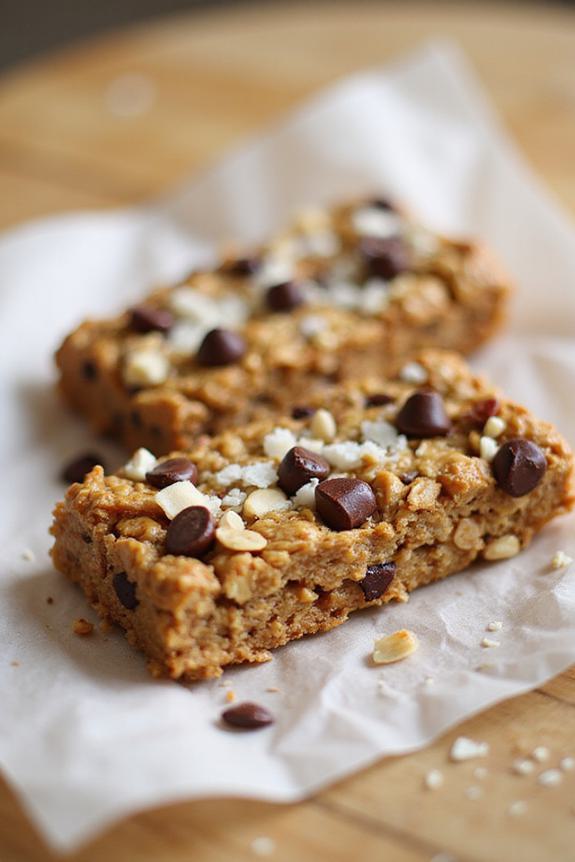
Why You’ll Love these Gluten-Free Energy Bars
Convenience meets nutrition in these no-bake gluten-free energy bars that’ll become your go-to snack solution. I love how they come together in just fifteen minutes—no oven required.
The combination of oats, nuts, and coconut creates this satisfying chewiness that actually fills you up, unlike those store-bought bars that leave you hungry twenty minutes later. Plus, you control every ingredient. No weird preservatives or unpronounceable additives here.
The peanut butter and honey bind everything together naturally, while those mini chocolate chips make each bite feel like a treat rather than health food punishment.
Ingredients for Gluten-Free Energy Bars
Let me walk you through exactly what you’ll need for these fantastic no-bake bars. The ingredient list is remarkably short, and I bet you already have most of these pantry staples hanging around. Everything comes together to create that perfect chewy-but-not-too-dense texture that makes these bars actually satisfying.
Ingredients:
- 1 ¾ cups (210 g) gluten-free oats
- 1 cup (120 g) chopped nuts (almonds, pecans)
- 1 cup (80 g) coconut flakes
- 1/2 cup (60 g) mini chocolate chips
- 1/4 cup (60 ml) peanut butter
- 1/3 cup (80 ml) honey or maple syrup
- 1 tsp vanilla extract
- 1/4 tsp salt
The beauty of this recipe lies in its flexibility. If you’re not a coconut fan, swap it for more nuts or even some dried fruit—cranberries work amazingly well. I always make sure my oats are certified gluten-free since regular oats can get cross-contaminated during processing. For the nuts, go with whatever you love or have on hand. Walnuts, cashews, even sunflower seeds work great. The peanut butter acts as your main binding agent, so don’t skimp on it, but feel free to try almond butter or tahini if that’s more your speed. That little pinch of salt? Trust me on this one—it makes all the other flavors pop.
How to Make these Gluten-Free Energy Bars
Making these bars is honestly foolproof—no oven required, which means no risk of burning anything or heating up your kitchen.
Start by combining all your wet ingredients in a large mixing bowl: the 1/4 cup (60 ml) peanut butter, 1/3 cup (80 ml) honey or maple syrup, 1 tsp vanilla extract, and that essential 1/4 tsp salt. Give everything a good stir until it’s well combined and smooth. I like to use a wooden spoon for this part since the mixture can be a bit thick, and it gives you better control than a whisk.
Next comes the fun part—dump in all your dry ingredients and mix until everything’s evenly coated with that sticky, sweet mixture.
Add the 1 ¾ cups (210 g) gluten-free oats first, followed by your 1 cup (120 g) chopped nuts, 1 cup (80 g) coconut flakes, and finally those 1/2 cup (60 g) mini chocolate chips. The mixture should hold together when you squeeze a handful—if it seems too dry, add another tablespoon of peanut butter or honey.
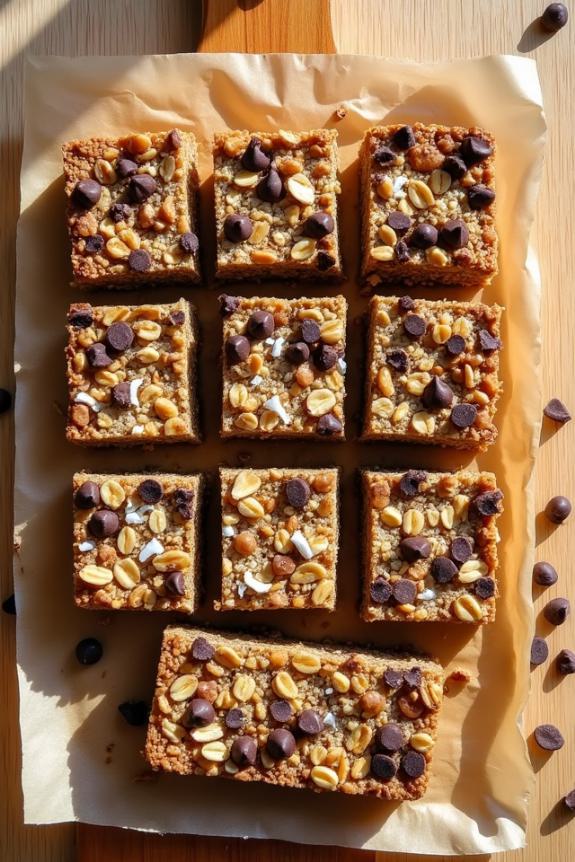
Press the mixture firmly into a lined 8×8 inch pan, really getting in there with your hands or the back of a measuring cup. I mean it about pressing firmly—this is what keeps your bars from crumbling apart later.
Pop that pan into the fridge for at least an hour to let everything set up properly. Once they’re firm, lift the whole thing out using the parchment paper overhang and cut into 8-10 bars with a sharp knife. Clean cuts work best if you wipe the blade between slices.
Store them in an airtight container in the fridge, and they’ll keep for up to a week—though good luck making them last that long. Having the right kitchen appliances can make preparing and storing these gluten-free treats even easier.
Substitutions & Variations
While the base recipe is absolutely delicious as-is, these bars are practically begging for customization—and that’s honestly one of my favorite things about them.
Swap the chocolate chips for dried cranberries or mini marshmallows. Trade peanut butter for almond or sunflower seed butter if allergies are a concern. I love adding a good pinch of cinnamon or a handful of pumpkin seeds for extra crunch.
The nuts? Totally flexible. Walnuts, cashews, or even toasted coconut work beautifully.
Want them sweeter? Bump up the honey slightly. Prefer less sweet? Scale it back. These bars adapt to whatever you’ve got in your pantry.
What to Serve with Gluten-Free Energy Bars
These little powerhouses don’t need much company, but pairing them right can turn a quick snack into something special.
I love grabbing one with my morning coffee — the nutty crunch plays beautifully against that first warm sip. They’re perfect tucked into lunch boxes alongside fresh fruit, or paired with a cold glass of milk for an after-school treat.
For hiking or camping, I’ll wrap them individually and toss them in my pack. They also shine on weekend breakfast spreads, cut into smaller squares and arranged next to yogurt parfaits.
Simple pairings work best.
Final Thoughts
Once you’ve made your first batch, you’ll wonder why it took so long to try homemade energy bars. These little powerhouses beat store-bought versions every time — fresher ingredients, no weird preservatives, and you control the sweetness level.
I love how they satisfy that afternoon slump without the sugar crash later. The best part? You probably have most ingredients already sitting in your pantry.
Make a double batch and freeze half for busy weeks ahead. Trust me, having these ready-to-grab bars around changes everything. Your future hangry self will thank you for the thoughtful prep work.