The Best Fluffy Pancakes recipe you will fall in love with. Full of tips and tricks to help you make the best pancakes.
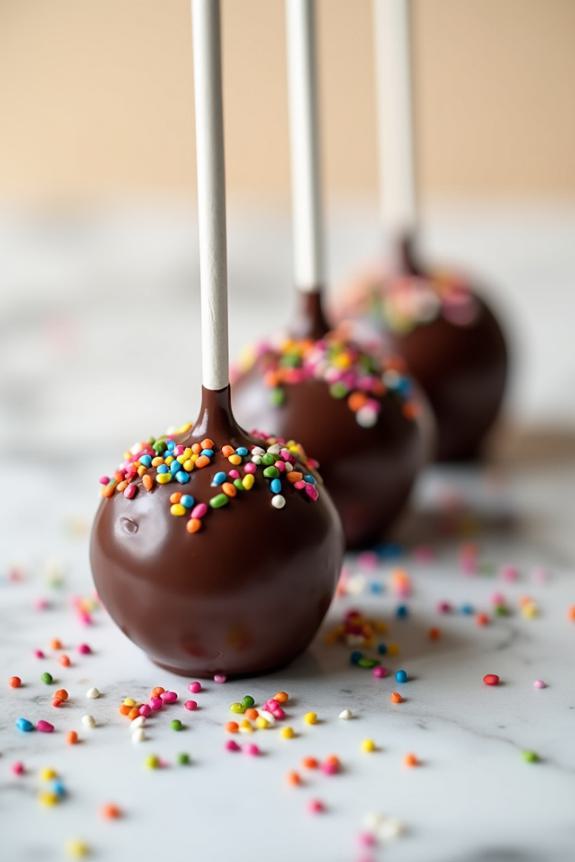
Why You’ll Love these Gluten-Free Chocolate Cake Pops
Whether you’re dodging gluten by choice or necessity, these chocolate cake pops prove you don’t have to sacrifice a single bit of indulgence.
I love how they’re perfectly portioned — no cutting required, just grab and enjoy. The rich chocolate coating gives way to moist, tender cake that’s impossible to distinguish from traditional versions.
They’re also incredibly forgiving; if your dipping technique isn’t Instagram-perfect, sprinkles cover any imperfections beautifully. Plus, they keep well in the fridge for days, making them ideal for parties or those moments when you need something sweet without the gluten guilt.
Ingredients for Gluten-Free Chocolate Cake Pops
The beauty of this recipe lies in its simplicity — just five core ingredients stand between you and chocolate bliss. I love how minimal the shopping list is, especially when you’re already dealing with the extra effort of finding quality gluten-free options.
Ingredients:
- 2 cups (240 g) gluten-free chocolate cake, baked
- ½ cup (120 g) frosting
- 1 ½ cups (270 g) dark chocolate
- Sprinkles (optional)
- Lollipop sticks
The cake is your foundation, so don’t skimp here — whether you bake from scratch or grab a boxed mix, make sure it’s completely cooled before you start crumbling. Any frosting works, though I lean toward vanilla or cream cheese since it balances the chocolate without competing. For the coating chocolate, quality matters more than you’d think. Cheap chocolate can seize up or taste waxy, so splurge a little on something you’d actually enjoy eating straight. The sprinkles are pure fun — skip them for elegant simplicity or go wild with colors that match your occasion.
How to Make these Gluten-Free Chocolate Cake Pops
Start by crumbling your 2 cups (240 g) of baked gluten-free chocolate cake into a large bowl — I like to use my hands for this part because it’s oddly satisfying, and you get better control over the texture.
You want fine, even crumbs without any big chunks hiding in there. Next, mix in ½ cup (120 g) of frosting gradually, starting with just a few spoonfuls and working your way up. The mixture should hold together when you squeeze it but not feel soggy or sticky. Too much frosting and you’ll have a mess on your hands; too little and your cake pops will crack apart later.
Once you’ve got that perfect dough consistency, scoop portions and roll them into balls about the size of a large grape, then line them up on wax paper.
Here’s where patience pays off: melt just 2 tablespoons (30 g) of your dark chocolate first, dip your lollipop sticks about halfway in, then gently insert them into each ball. This little chocolate “glue” keeps the sticks from sliding out when you’re coating later — trust me on this one.
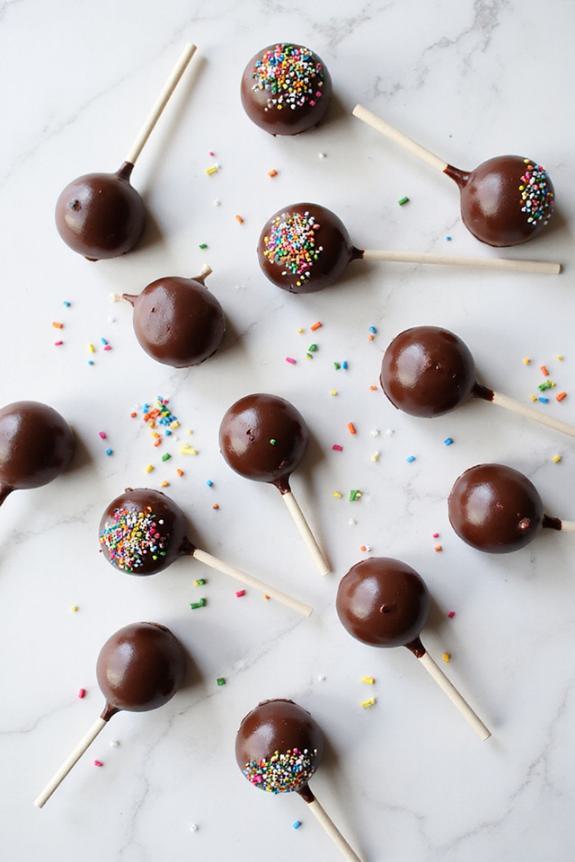
Pop everything in the fridge for 30-45 minutes until the balls feel firm to the touch. Now melt the remaining 1 ¼ cups (225 g) of dark chocolate, and here’s the fun part: dip each cake pop straight down into the chocolate, let the excess drip off, then add your sprinkles while the coating is still wet.
I always work quickly here because chocolate waits for no one. Give them a final chill in the refrigerator for about an hour, and you’re done — perfectly smooth, professional-looking cake pops that happen to be completely gluten-free. If you’re planning to make gluten-free treats regularly, consider investing in a gluten-free bread machine to expand your baking repertoire beyond just cake pops.
Substitutions & Variations
While this recipe works beautifully as-is, you’ve got plenty of room to make it your own depending on what’s hiding in your pantry or what dietary needs you’re juggling.
Swap the dark chocolate for white, milk, or even sugar-free varieties. I love mixing in a tablespoon of peanut butter with the frosting for extra richness. Out of frosting? Cream cheese works perfectly. Try rolling the balls in crushed cookies before dipping, or drizzle contrasting chocolate on top instead of sprinkles.
For different flavors, use vanilla or strawberry cake instead of chocolate. The possibilities are endless.
What to Serve with Gluten-Free Chocolate Cake Pops
Perfect little bite-sized treats like these cake pops don’t need much company, but pairing them thoughtfully can turn a simple dessert into something special.
I love serving them alongside fresh berries — the tartness cuts through all that rich chocolate beautifully. Coffee or hot chocolate makes perfect sense too, especially for evening gatherings.
For parties, I’ll arrange them on tiered stands with other gluten-free treats like macarons or shortbread cookies. Ice cream works surprisingly well; just stick a cake pop right into a scoop of vanilla.
Simple presentation, maximum impact.
Final Thoughts
Although gluten-free baking used to feel like solving a puzzle with half the pieces missing, these cake pops prove that restriction doesn’t mean settling for less.
They’re delightfully fudgy, perfectly sweet, and absolutely nobody will guess they’re gluten-free unless you tell them.
I love how forgiving this recipe is — if your chocolate coating gets a little thick, just rewarm it gently. The key is patience during those chilling steps, even when you’re tempted to rush.
Trust me, properly set cake pops are worth the wait. You’ve got this, and your celebration just got sweeter.